This page gives two processes for eccentric turning.
The first is more traditional, using the 4-jaw chuck to hold the workpiece off centre to the lathe axis.
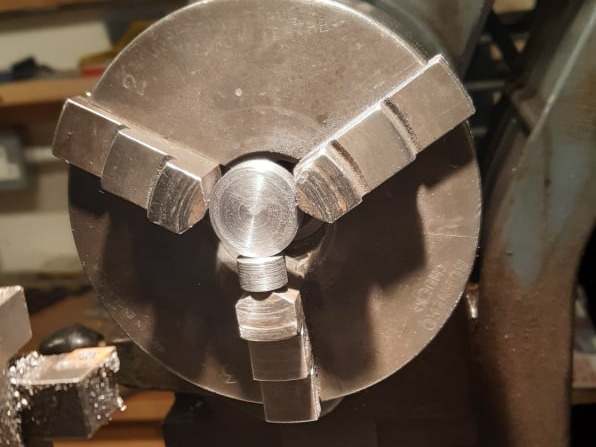
The second uses the 3-jaw with some packing.
I both cases, a piece of 21mm diameter bar was machined to have a 4mm hole 5mm from the centre-line. This would produce a disc with a 10mm throw.
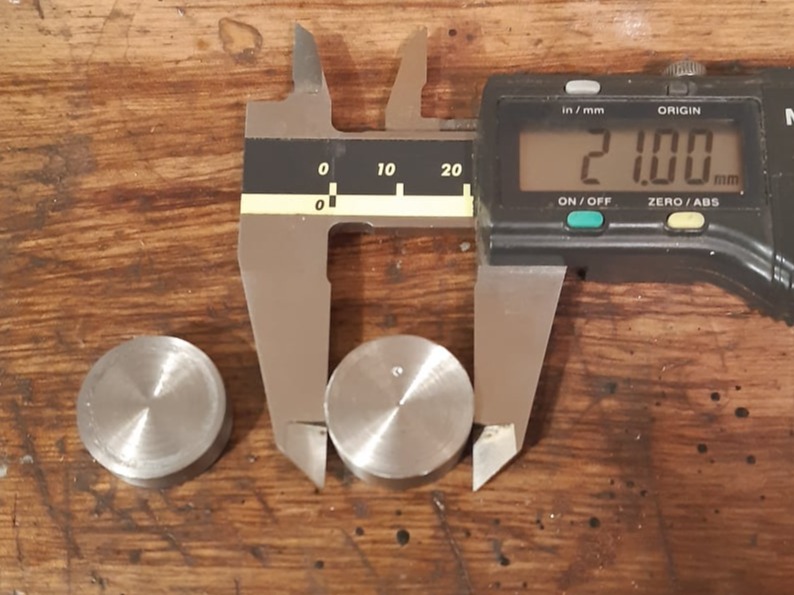
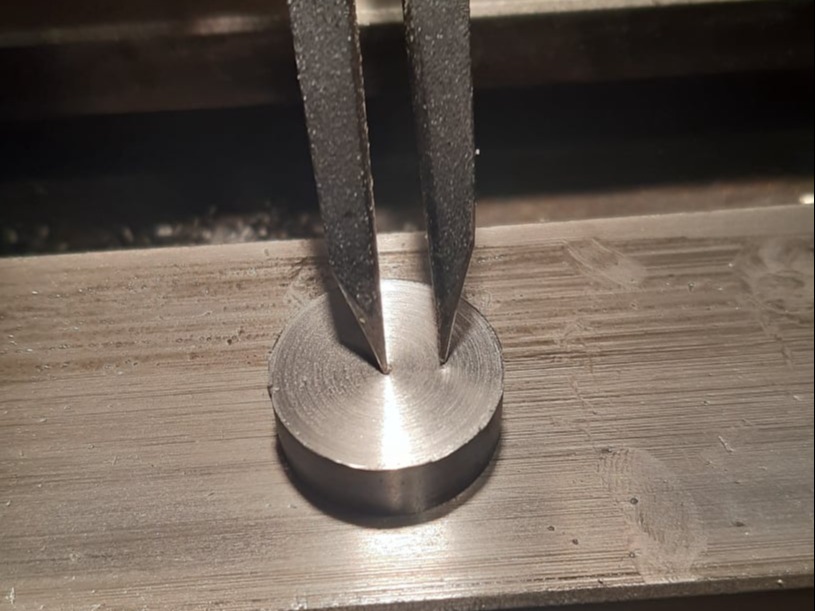
Image showing the diameter of the starting blanks.
One of the blanks was marked in the lathe using a centre-drill to find the centre point. Then the dividers set to 5mm to mark the position of the required hole. This location was centre-punched.
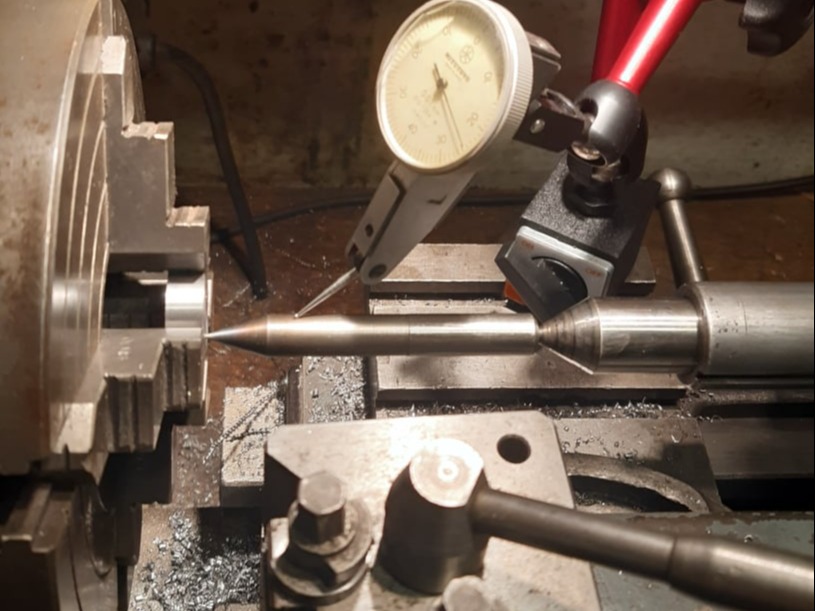
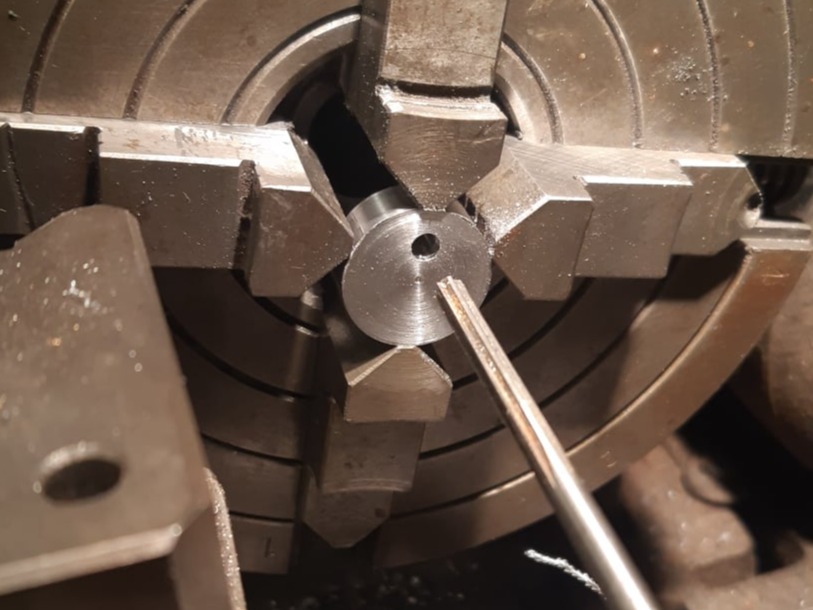
The blank was then placed in the 4-jaw chuck and the marked point set to run true using a floating centre and DTI to measure the run-out.
The offset hole was then centre-drilled, drilled and reamed to 4mm.
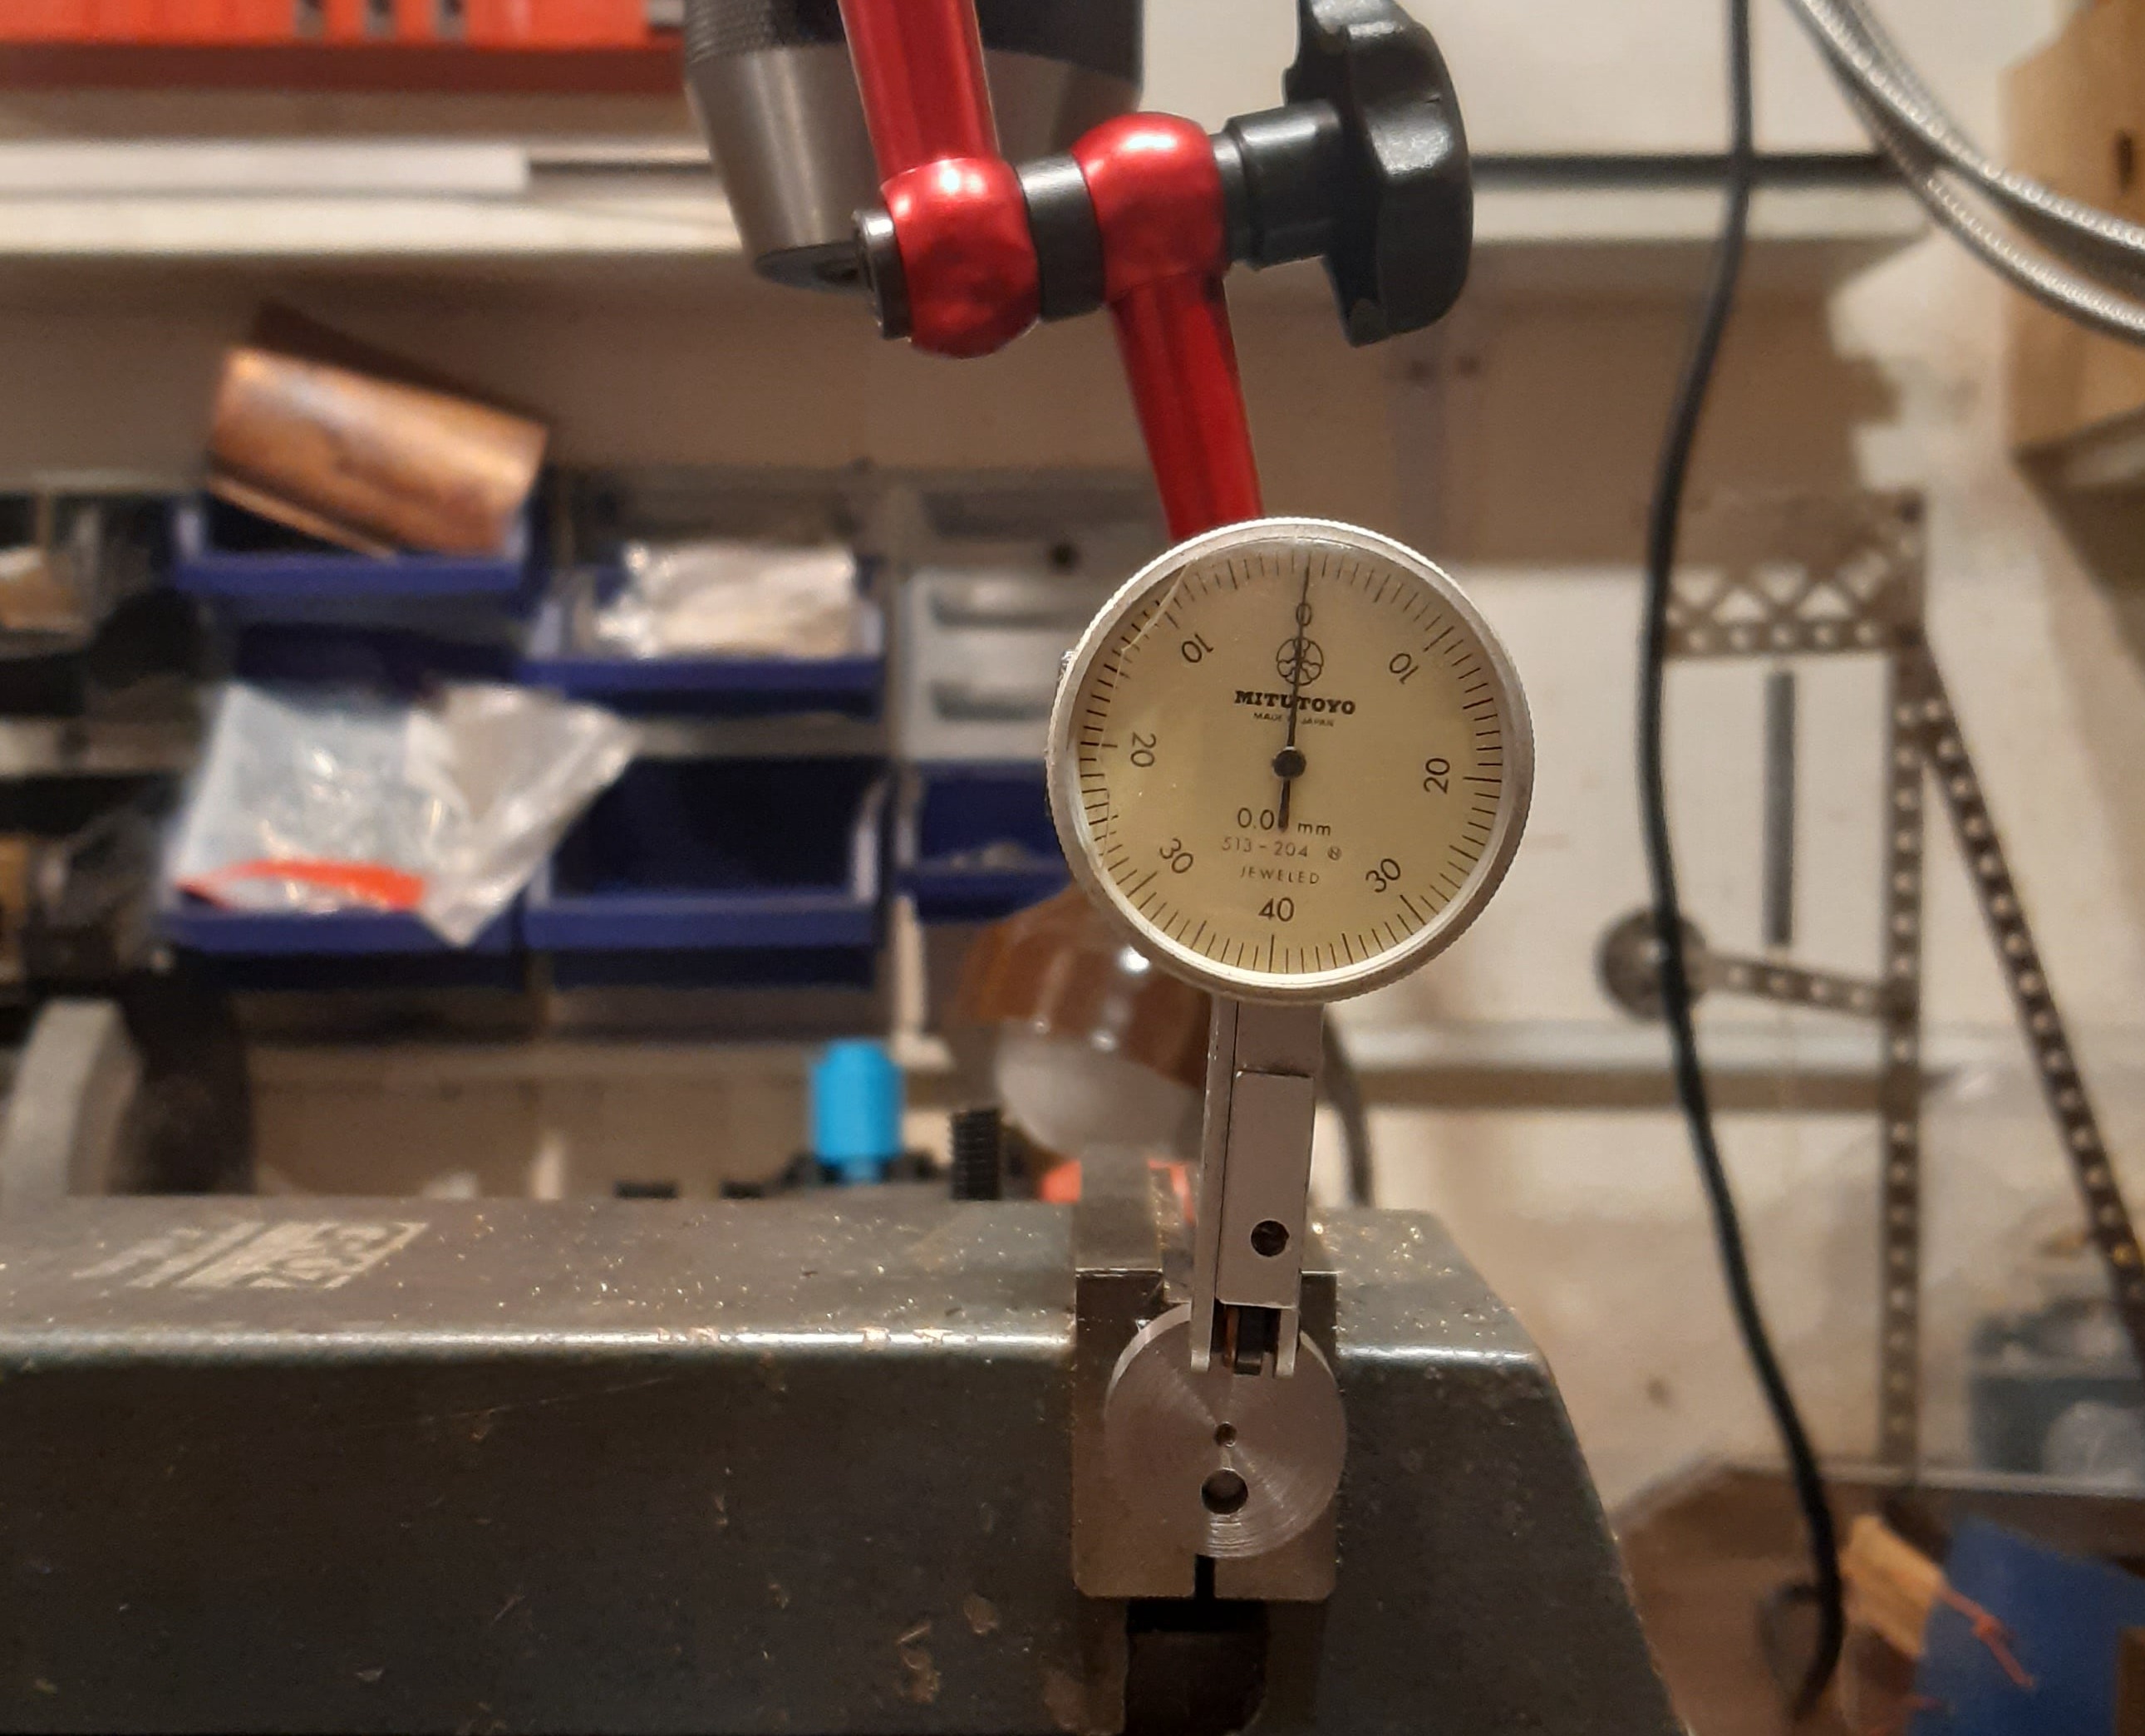
The eccentric throw was measured on the mill using a DTI as a touch probe and reading the throw off the quill readout, in the lowest and highest position.
Throw was measured at 9.865mm which was 0.135mm too small.
Packing piece calculation
The formula below is a very accurate way to determine the size for a packing piece for offset turning. This formula was shared with me by Marvin Klotz, and it compensates for the width of the contact area of the jaws of the chuck. Marvin is a retired Aerospace physicist and now spends his hobby time making engineering models and deriving formula for model engineering activities. His website can be found here.
Marvin's formula is
Packing piece = 1.5×e-r+(0.5×√((4r^2 )-(3e^2 )+(2ew×√3)-w^2 ))
Where
e = eccentric offset = 5mm
r = radius of part = 10.5mm
w = width of chuck jaws = 2mm (for the Myford ML7 used here)
For this example:
Packing piece = 1.5×5-10.5+(0.5×√((4x10.5^2 )-(3x5^2 )+(2x5x2×√3)-2^2 ))
= 7.5-10.5+(0.5×√((441)-(75)+(34.64)-4 ))
= 7.5-10.5+(0.5×√((441)-(75)+(34.64)-4 ))
= 7.5-10.5+(0.5×19.915)
= 7.5-10.5+9.957
Packing piece = 6.957mm
Then the lathe can then be used to turn a small offcut of material to the exact length.
The second blank part was placed in the 3-jaw chuck as shown.
The the part was centre-drilled, drilled and reamed to 4mm.
The eccentric throw was measured on the mill using a DTI as a touch probe and reading the throw off the quill readout, in the lowest and highest position.
The result was a throw of 10.055mm.
0.055mm over the target.
Which method you use is a case of personal preference. I find the 3-jaw method quicker and it removes the task of marking out which is probably the largest source of error. However, it is not how the 3 -jaw is deigned to be used, so some caution needs to be used to convince yourself the part is secure in the chuck. A slow speed can help keep things safe. There is also a limit to this method, as the bar gets smaller and the offset larger.
HTML Editor