The page documents some processes to follow to create simple but accurate features and components.
There are 3 basic operations which cover many of the tasks done on the lathe.
Turning a bar to length
Turning to a required diameter
Drilling a hole using the tailstock
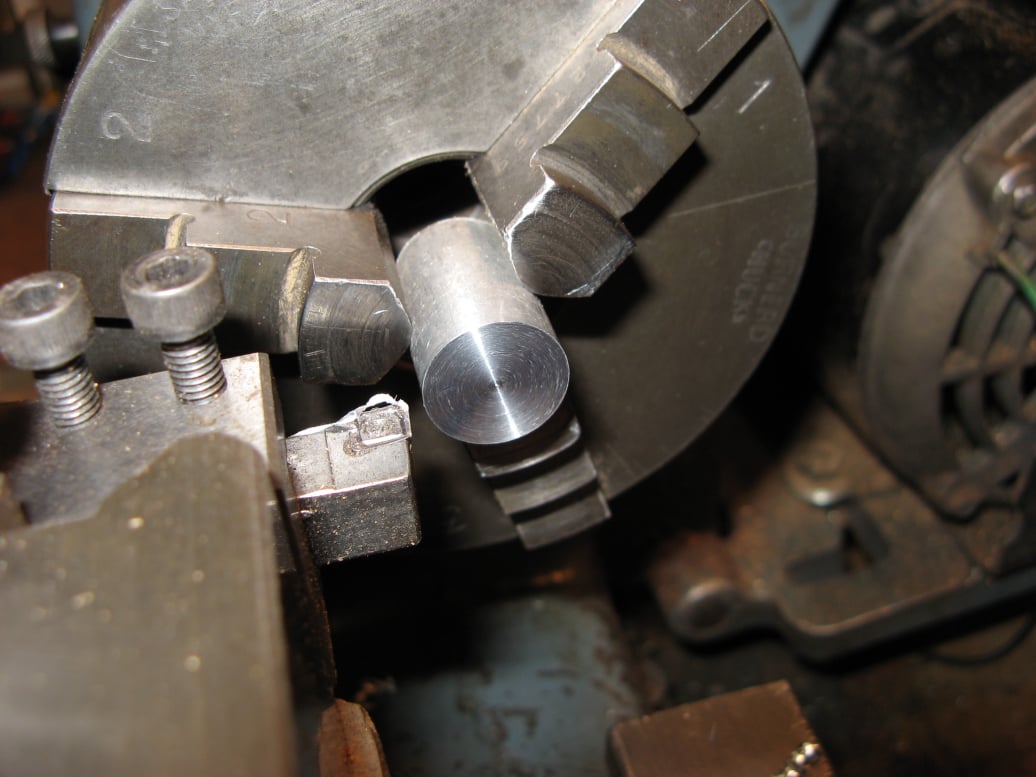
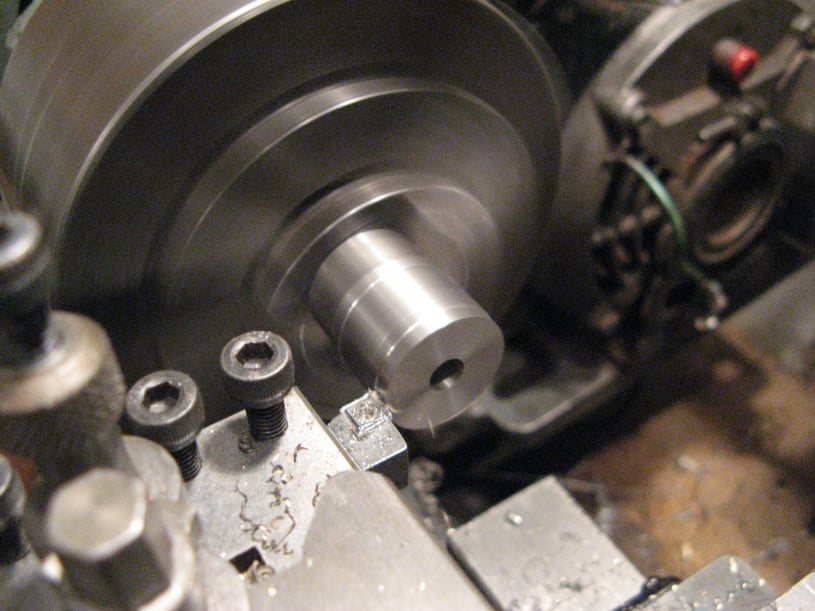
In this example a 25mm off-cut of 12mm diameter aluminium bar, was turned to be an exact length of 20mm.
To turn to a specific length first the starting length must be known and to measure this, both ends of the bar should be faced square, so that an accurate measurement can be made.
The 3 jaw chuck was used to hold the work-piece and each end was lightly faced to leave them both parallel.
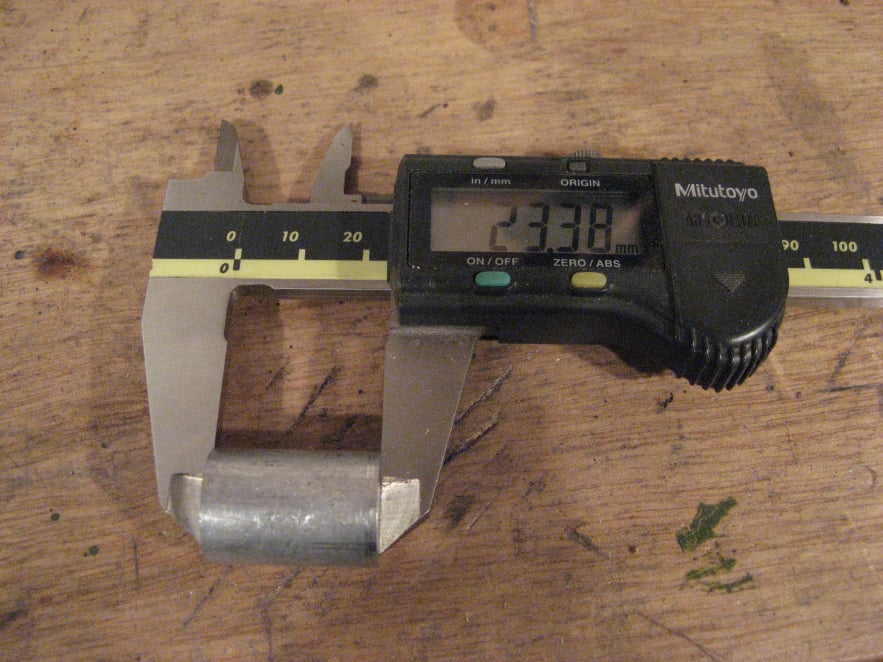
The Bar length was measured using a caliper and was found to be 23.38mm.
Current length - Required length = Amount of material to be removed.
In this case: 23.38mm - 20.00mm = 3.38mm needed to be removed
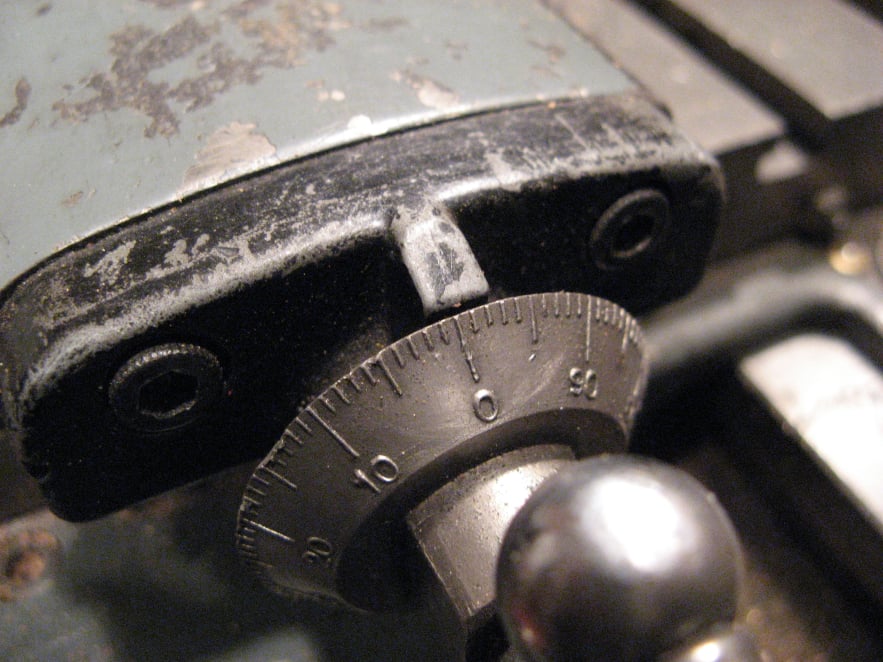
To remove this amount of material, the work-piece was placed back in the chuck and the top-slide wound to zero.
Next, the saddle was wound towards the work-piece until the tool just touched. This should be done carefully to avoid any error.
Now the top slide was used to take the required cuts.
On this Myford (with metric conversion) each division on the scale would be equal to 0.02mm So the required cut was a total of 3.38mm / 0.02 = 169 divisions
The top slide was incremented in 10 digit steps and after 150 divisions, the work piece was removed from the chuck to check the length. This was done because the amount to be removed was quite high and resetting the cut from near to the final length would remove any built up error.
This re-measurement showed that an error of 0.03mm had accumulated.
Next the top-slide was set to zero again and the work-piece mounted in the chuck to remove the remaining 0.35mm which was equal to 17.5 divisions.
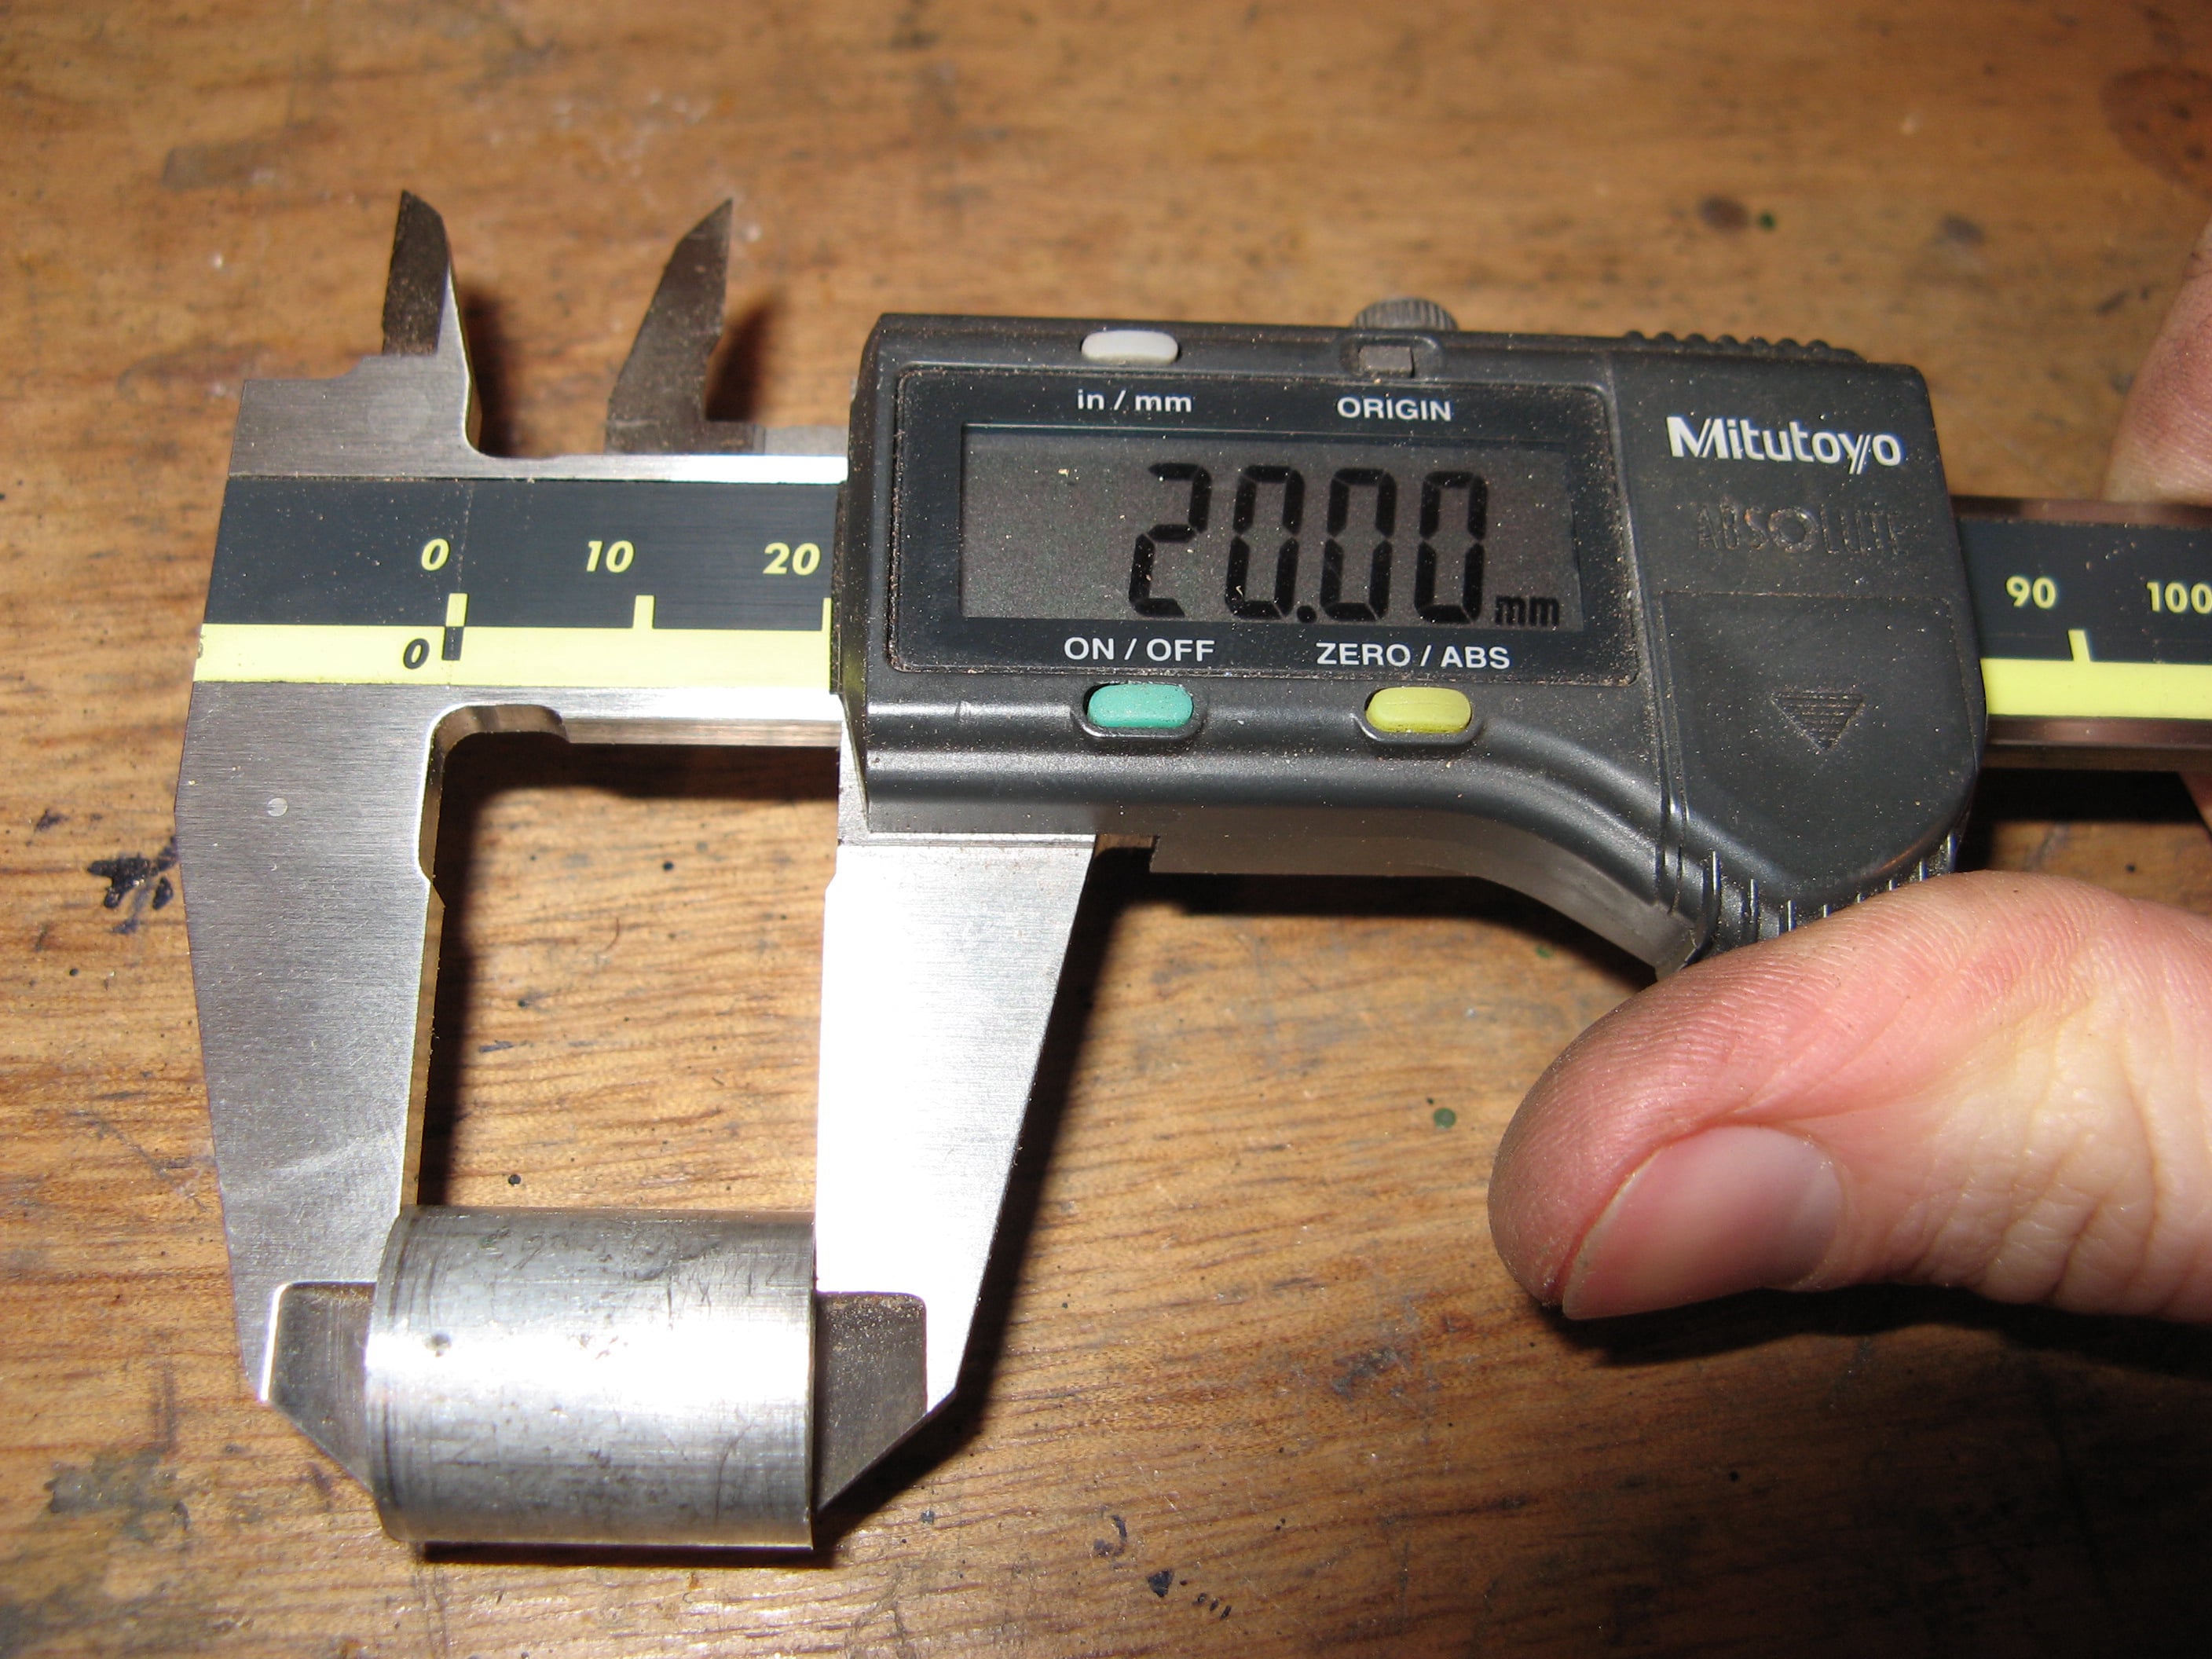
The result was correct.
As with turning to length, when turning a diameter, first the starting diameter has to be established.
The raw bar can not be assumed to be perfectly round, nor the chuck completely true and so a light datum cut should be used to generated a starting diameter.
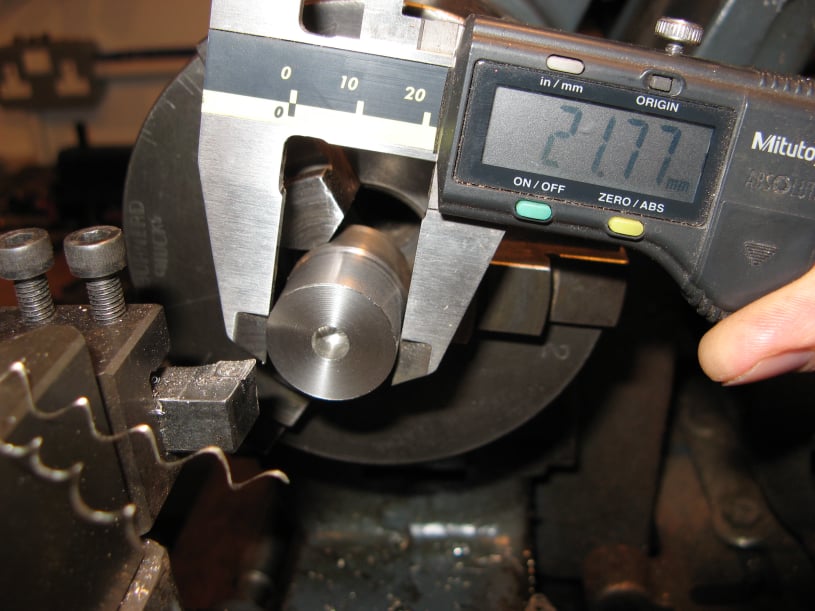
In example, the plan was to turn the part to a diameter of 20mm.
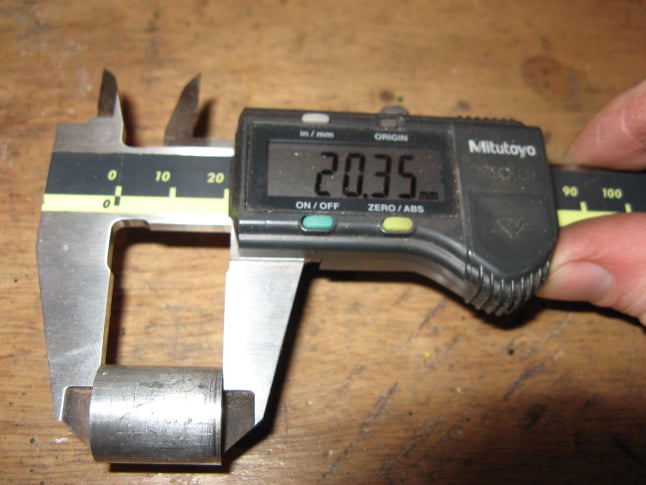
The starting diameter was measured and the required diameter subtracted to determine the cut to be taken.
IN this case: Current Diameter - Required Diameter = Amount of material to be removed.
Therefore : 21.77mm - 20.00mm = 1.77mm to be removed.
On this Myford (with metric conversion) each division on the cross-slide was equal to 0.04mm off the diameter.
So the required cut was a total of 1.77mm / 0.04 = 44.25 divisions.
The cross-slide can then be incremented in steps to get close to the final diameter.
Periodic checks should be made to check of errors and the amount to be removed recalculated, as the component nears final size. Rechecking in this case is easier than when turning to length because the material can remain in the chuck.
The lathe power feed (if available) can be used to give the best surface finish on the final cut.
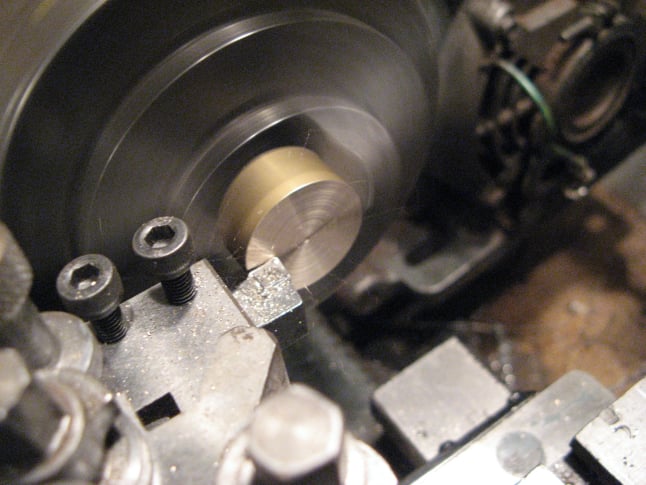
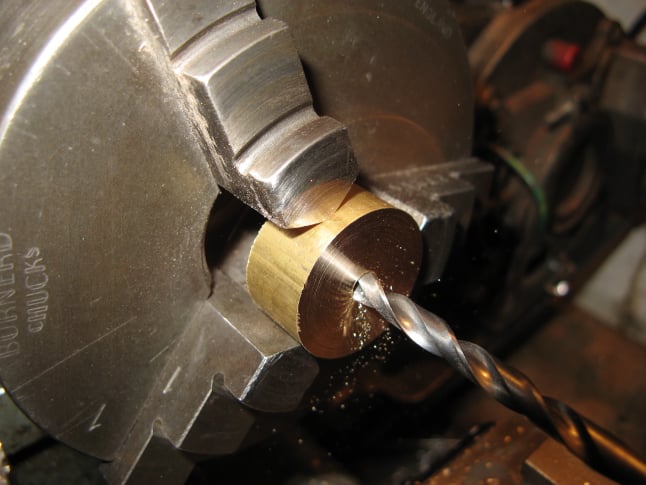
The tailstock can be used to drill holes in the centre-line of the lathe. In this example, a 5mm through hole was drilled in a brass off-cut.
First the face of the work-piece should be faced square to prevent the drill from wandering or slipping off centre.
A centre drill should be used to accurately mark the centre.
The centre drill should be used to a depth deep enough to fully guide the tip of the next drill to be used. For this 5mm hole, the next drill to be used was 4.5m diameter.
Drills are used in progressively larger sizes up to 0.1mm below the final dimension, in this case 4.9mm was the last drill used.
For the most accurate diameters a reamer can be used.
The lathe was used on the lowest open speed for this operation.
Drag & Drop Website Builder